Showing posts with label gluten free cake. Show all posts
November 11, 2013
Lest We Forget- Raspberry Poppy Seed Cake for Remembrance Day
Hello My Lovelies!
Did you remember that today is Remembrance Day (11 November) that marks the anniversary of the armistice which ended the First World War? Each year Australians observe one minute silence at 11 am on 11 November, in memory of those who died or suffered in all wars and armed conflicts.
I always seem to buy enough silk poppies for a bouquet each year, and the colour is so beautiful and vivid that I wanted to replicate it in a cake. At first I thought about a Red Velvet cake, but as I'm not too fond of plain chocolate I came up with Raspberry and Poppy seed instead. I just wish I could give a slice to all the indefatigable fund raisers out there at the poppy stands who do such a great job each year- well done!
Raspberry Poppy Seed Cake
3 1/2 cups SR gluten free Flour
2 cups Castor Sugar
4 Eggs
1 cup Oil
2 tablespoons lactose free Milk or substitute
300gm packet frozen Raspberries
1/3 cup or packet Poppy seeds
2 tablespoons Red Colouring
2 tsp Vanilla (or Raspberry) Flavouring - I actually used Raspberry White Balsamic
Now you can see from this photo that I actually made my cake with lactose free spread instead of oil, but as it turned out a little dry I would definitely use the oil next time. The step by step instructions will be the same if you use the oil, but the photos are obviously using the spread which makes for a fluffier look
Beat the oil/ spread and butter until nicely incorporated and a bit fluffy, then add in the eggs one at a time and beat well
Add in the flour and the milk
I always like to add in any colouring or flavouring now as I find it disperses better in the finished cake
So pretty once you beat it through!
Add in the defrosted berries and the poppy seeds and give it all another good mix to let the berries disintegrate into the batter
Full of seedy goodness
Pop the batter into your prepared cake tins- I made two 18cm cakes
Bake at 180*C for about 50 minutes or so until cooked through
Look at the split cake- it looks just like a Dragon Fruit doesn't it?
I filled and covered my cakes with a dark chocolate ganache- and yes I cracked the outside because I didn't let it warm up to room temperature :(
I think the finished cake was very pretty and very tasty with all the raspberry yummies- just a tad dry so make sure you use the oil! The pop of the poppy seeds was quite a nice texture change form the smooth cake- just make sure you check your teeth before you have to smile :)
So Dear Readers, did your work place stop to observe a minutes silence today, and do you like poppy seeds too?
August 20, 2013
Summer Dreams... Basil and Peach Chiffon Cake
Once upon a time.... a long, long while ago, there was warmth in the land
It was a time of rejoicing, of long days and weekend barbecues, stone fruit and salads...
It was known as Summer.
Today Summer seems very, very far away still with snow on our local hills and bitter, icy winds whipping around the windows and cutting through you to your very marrow when you're silly enough to go outside. I have been seeing subtle changes though, like shy blossoms starting to colour on the trees, and wattle wattling furiously along the roadsides, but it wasn't until I came across some imported Summer Peaches at the supermarket that I realised how much I was pining for warmer weather.
Now I grow a LOT of our own veggies, and I'm a great believer in eating locally and definitely supporting Australian farmers rather than overseas producers for fresh, tinned or frozen goodies - but I couldn't help it...they sat there glowing with red and gold, just like a sun kissed cheek and somehow a few of them ended up in my shopping trolley.
It would be wrong not to eat them now, wouldn't it?
Another great Summer love of mine is Basil. You can get it year round, but in the middle of Summer it grows prolifically in my herb garden and when I go outside the smell is so strong that it's glorious indeed. How about pairing the two ingredients for a taste of Summer? Something light as a change from heavy Winter comfort foods, something dreamy.... Basil and Peach Chiffon Cake
sounds just right!
Basil Chiffon Cake
180gm gf SR Flour
200gm Castor Sugar
8 Eggs
125ml Basil Juice or Water
125ml Oil - or Basil flavoured oil
1 tsp gf Baking Powder
3 Peaches
Syrup:
1 cup Castor Sugar
1 cup Water
1/2 bunch Basil
Cream
whipped with two tablespoons of basil juice or basil flavoured oil, and two teaspoons of castor sugar
Now my first challenge was to get the true flavour of Basil somehow. Just blitzing it up would work ok, but I wanted something a bit more refined than that so I decided to use my cold press juicer and managed to extract this much juice from a standard bunch of basil. There's also a great Basil oil available from Coles and Woolies that I thought of afterwards that I'll use next time as well. Care is key here, you don't want a cake that tastes like pesto!
Separate your eggs, be really careful to keep them clean and not let any yolk get into the whites or the cake won't work
Beat the egg whites with 100gms of the sugar until stiff peaks form
In another bowl, whip the egg yolks with the other 100gm of sugar until nice and fluffy and ribbons remain on the surface when you dribble the mixture
Now beat in the water/juice and oil into the yolk mix until well combined
Mix in the sifted flour and baking powder, and stir into a lovely green tinted batter
Beat in a good spoonful of the eggwhites to lighten up the batter and loosen it up a little, then carefully fold through the rest of the whites. You want to keep in as much of the air bubbles as possible for a lovely light-as-a-dream finished cake
I wanted to make two small cakes instead of one regular sized one, so I split my mixture into two 18cm cake tins, but one larger one would be lovely,
DON'T grease the cake pans though. Even a using Non non-stick ones are better as Chiffon cake batter is similar to an Angel cake mix and uses the sides of the pan to cling to as it rises. If you only have coated pans like me, just make sure they are really clean with no greasy residue inside and you should be OK
Bake the cakes at 170*C for about 50-60 minutes until they spring back slightly when touched on top, don't prick these ones with a skewer to check as they can be a bit touchy
Now while your little cakies are in the oven, let's crack on with the Basil Syrup
Mix the sugar and water together in a pan, add in the basil, then simmer until the mix is slightly reduced and syrupy- easy peasy. Let it cool
Peach fuzz isn't the best texture in a cake, so peel them by blanching them in boiling water for a minute than peeling off the skin slowly, or just use a regular veggie peeler. I wanted to keep the blush on the flesh so I used the water method and went nice and slow.
Pop the sliced peaches into the basil syrup and let them mingle their yummy flavours while you bake and cook the cakes. You can do this step a day before if you like for a taste that's a bit more intense
Once the cake is cooked, cool it on a raised rack with the tin upside down. Chiffon cake is really like a cross between an Angel cake and a Sponge, but treat it more like Angel cake for the best results
Once cooled completely, split the cake into layers and give them a brush with some of the basil syrup for a sweet hit
On the bottom layer, plop on some cream, then top with some peach slices. I don't like to take my cream layer to the edge of the cake as it will squish out when cutting and look messy
On the top layer, take a very small amount of cream and spread a thin layer over the entire split surface. This ensures it doesn't dry out, and helps the top layer stick to the peaches underneath without slipping around
Put the layers together then decorate the top of the cake with more cream and those sunny slices of peach
I really was so happy with this cake, and it certainly delivered my Summer Dream. The basil flavour was subtle and spicy, and didn't come across as savoury at all, the peaches were plump and juicy and despite their long journey hadn't forgotten their sweetness, and the cake was soft and fluffy....just like a dream indeed.....
So Dearest Readers, what is your Summer Dream and your favourite taste of Summer?
May 14, 2013
Rose Geranium Duck Egg Sponge
I have some lovely Foodie Friends
Friends who enjoy good food, interesting food, different food and cooking it as much as just eating it. Friends who get excited when they stumble across something a bit different, or who invite you to share a pig-on-a-spit in their backyard.
One of these friends of mine is Rachael, my Hydro Therapist, who is lovely enough to spend each session with me not only overseeing my physical health in the pool, but also my mental health by chatting and gossiping with me about the latest in her Love Life and Food Life too. Many a meal is discussed and disected with the rest of our group, recipes are swapped...and sometimes ingredients as well.
Duck eggs are not something I use regularly. Hen eggs are easily available and are the go-to for every baking recipe so it was very exciting when Rachael offered me some duck eggs to play with for a change.
Duck eggs on the left, hen eggs on the right:
Duck eggs are just perfect for baking, the whites have more protein so they'll whip higher than regular chookie eggs, and the yolks have more fats so they are richer as well. I figured that with such good characteristics as these the best way to show off the little lovelies was in a classic Sponge Cake because it needs both of these attributes to perform their best
The hardest part about finding a recipe though, was the size difference between the two types of eggs. Baking has a fine balancing act between ingredients and I didn't want to mess them up with guess work, and these eggs were big suckers indeed.
I figured instead of trying to do something completely different, I'd follow Michael Ruhlman's guide of cooking to Ratios instead of individual ingredient count.
His basic Sponge Cake Ratio is 1 part Egg: 1 part Sugar: 1 part Flour: 1 part Butter
The only part that is really variable is the amount of butter used. You can use none at all, some or the full amount. Michael insists that it's the method that makes the cake light and airy and the butter just makes it richer and more delicious. I went with a fraction of the butter amount- only because I had forgotten to grab any at the shops that morning :) I would use more next time though, as we sadly know all to well, gluten free baking tends to dry out much faster than the regular version and this would help keep it moist longer
So there is no 'real' recipe for this cake today, instead the magic ratio of Egg:Sugar:Flour:Butter, and a surprise ingredient for adding a lovely floral flavour that permeated the whole cake through and made my kitchen smell divine all day
I started my ratio off by weighing the cracked eggs, they set the benchmark for the rest of the ingredients. Always use room temperature eggs as they whip much better than ones from the fridge.
Now this made enough batter for 1 huge 40 cm cake pan, but smaller, thinner layers would have been by far the better choice. I just happened to break my other same sized pan and didn't want to let my batter go flat while the first layer cooked. If I were you, I would use a more conservative amount of ingredients :)
The magic four ingredients:
You can also use a flavouring medium like vanilla or lemon zest or something yummy
Beat together the eggs and sugar until they are nice, thick, and about tripled in size- this will take about 5 to 7 minutes, but my mixer is pretty strong and yours might take a little longer
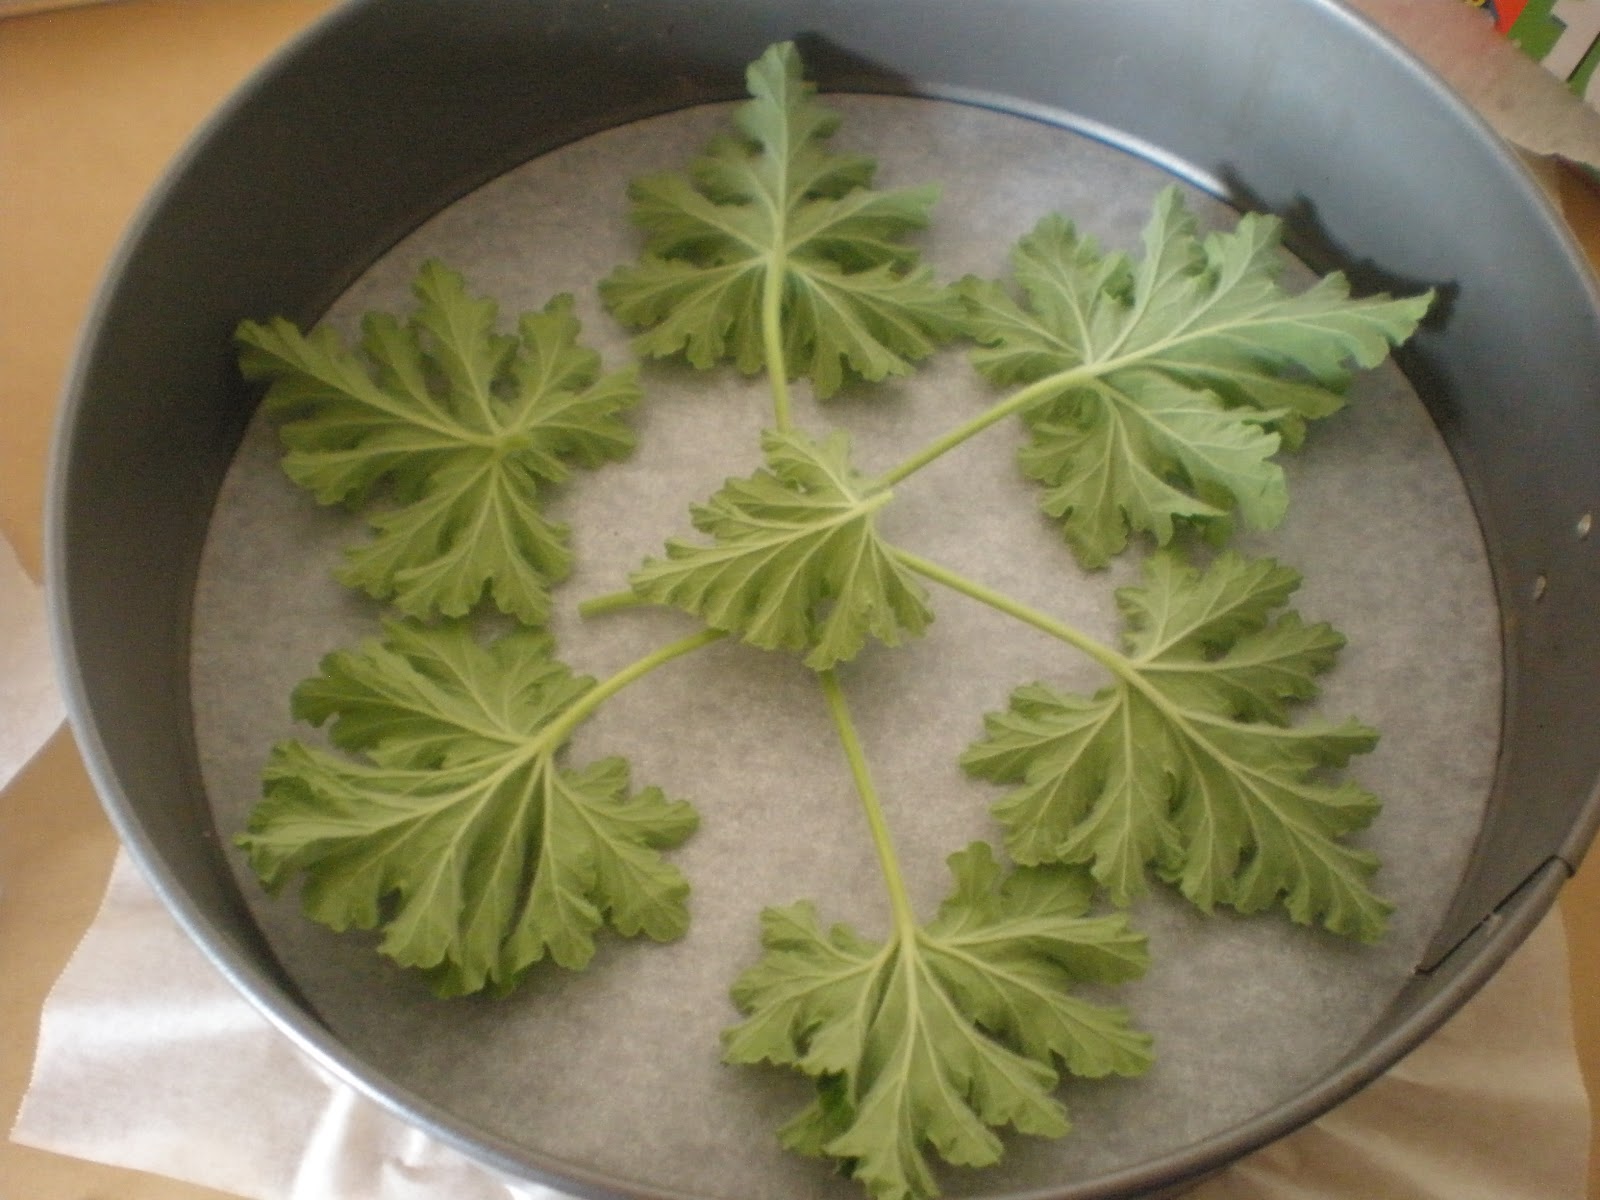
Now for my surprise ingredient- Rose Geranium leaves from my Kitchen Garden
I love the scent of this, it's a bit sharper than straight rose, and flavours things quite strongly. You can get it in the herb section of your Garden Centre, or feel free to use you own favourite flavour instead
While the eggs are beating, line the bottom of your cake pan with paper, then with the Rose Geranium leaves.
I made the mistake of not using two cake tins- Big Mistake! The weight of the batter was a bit too heavy and the sponge didn't get the extra lift that it should. If I'd used the two pans I would have had a tower of a cake with a feather light texture instead of a nice cake that had slightly dried out edges by the time the centre was cooked through
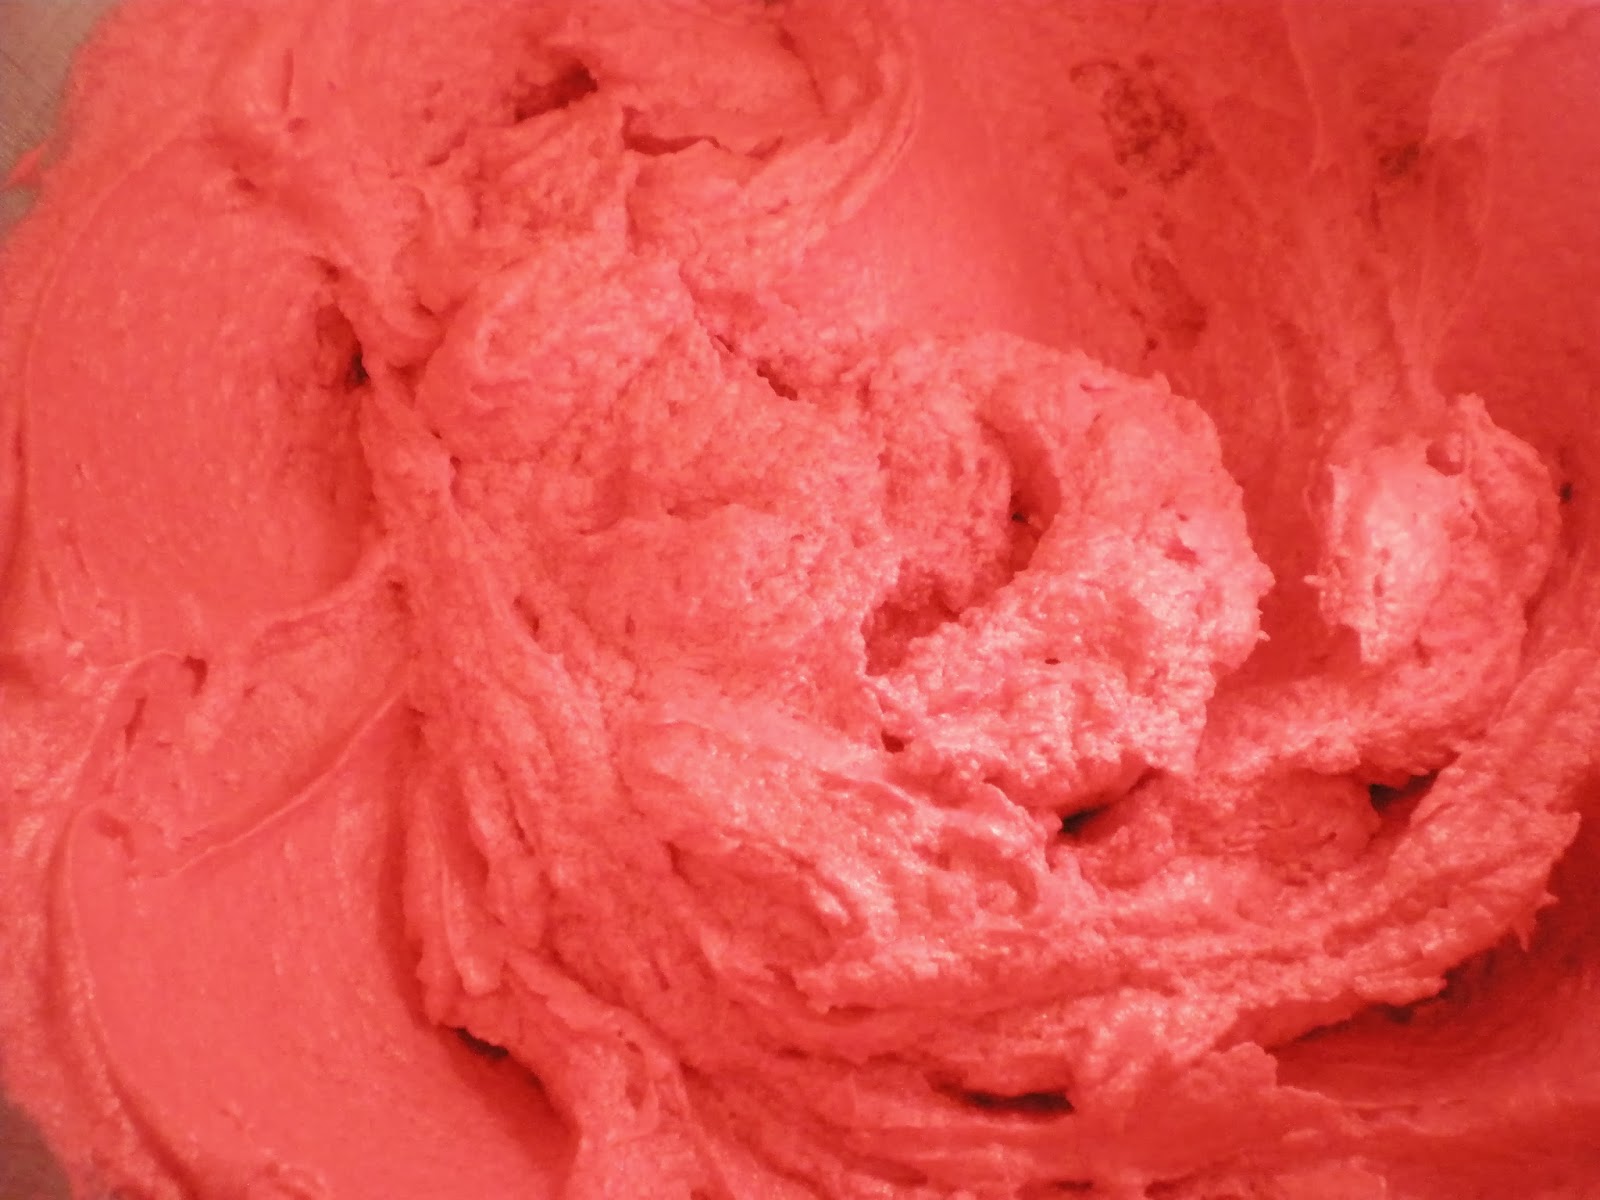
The eggs and sugar should be lovely and fluffy by now, leaving ribbons of batter as you move the beaters across the mix
Gently sift over the flour and start carefully folding it through
Drizzle in the melted butter and keep folding it in until it's evenly distributed
See how it's gone nice and glossy now?
Pour the mix into the pans, don't knock it about too much or you will get rid of all the lovely little air bubbles that will help it to rise
Because I made the one larger cake, it didn't bake as evenly as usual. The edges were higher than the slightly sunken middle so I had to trim it up carefully with a serrated knife
As this baked the kitchen filled with the glorious scent of a flower garden- heady, sweet, and when I opened the oven door- almost intoxicating!
Turn the cake over to reveal the leaves underneath. Of course you could eat them, they're not too bad really, but it's a bit chewy and odd to have big bits of greenery in a sponge
Prise out the leaves carefully as they would have sunken a bit into the batter as the cake cooked. I like to leave the pattern as decoration, but you could hide it inside if you prefer
If you were silly enough to use one big pan, cool the cake completely then split it in two
Spread the bottom layer with a nice thick covering of raspberry jam, then if your diet allows, plenty of whipped cream. Stop the cream just a little shy of the cake edge so it can handle compressing slightly when topped and cut
Pop the top layer with the pretty picture on top of the filling, but carefully so you don't squish it all out the sides
Deliciously dust the top of the finished cake with icing sugar for an appetising ethereal effect
Slice very carefully with a very sharp knife indeed to avoid spoiling the loveliness. Not quite perfect looking I know, but it sure tasted good anyway
Mmmm..... so sweetly scented and lovely and light!
So my Dear Readers, have you ever heard of Rose Geraniums, and who are your Fabulous Foodie Friends?
To see some more of my Fabulous Foodie Friends in action, check out Lorraine's story on her long-awaited Book Launch- then go out and buy one for you and all your foodie friends too!
http://www.notquitenigella.com/2013/05/14/book-sandwiches-book-launch-party/
Subscribe to:
Posts (Atom)