I have always considered myself quite a nice person. I like food of all shapes, flavours and colours. From every country and continent. I don’t discriminate, I am an equal opportunity eater. It’s only the doctors who say I’m intolerant. And certain foods who refuse to tolerate me. They certainly refuse to recognise and respect my right to eat them without major physical discomfort and distress.


Gluten and lactose are not my friends.


Despite the negative attitudes surrounding me from many of those I love best, (cakes, ice cream, hot toast) I decided to become a chef. Not always easy when you live in a bread and milk filled world. I like to think that this has helped me become a better person as I embrace my differences and refuse to let the gluten get me down. I believe InTolerance. I am the InTolerant Chef.

Food should not be about what you can’t eat, but what you can and what you enjoy eating. This blog is about my journey of cooking and eating and discovery. It’s not a definitive guide to allergy awareness nor do my intolerances make me an expert. Your body is your responsibility, not mine. I only know what works for me.


I can tell you this..... No glutens were harmed in the making of this website.

November 20, 2013

Maple Morsels- Gluten free Spritz Cookies


I love Spritz Cookies

Each the perfect little size for popping into hungry mouths, but small enough that you can happily take a handful and still not feel guilty!
Such a small amount of effort, but it sure looks like you've been cooking up a storm as pile after pile of little moreish morsels stack up, and by dint of changing the shape you have created a whole new cookie too :)

Do you remember Dear Readers, me showing off some yummy maple products in my November In My Kitchen post? (look here,) Well I wanted to use them a bit more creatively then just slathering them over pancakes or waffles, and as the sugar was really quite expensive I also wanted to find a way to make a little go a long way.
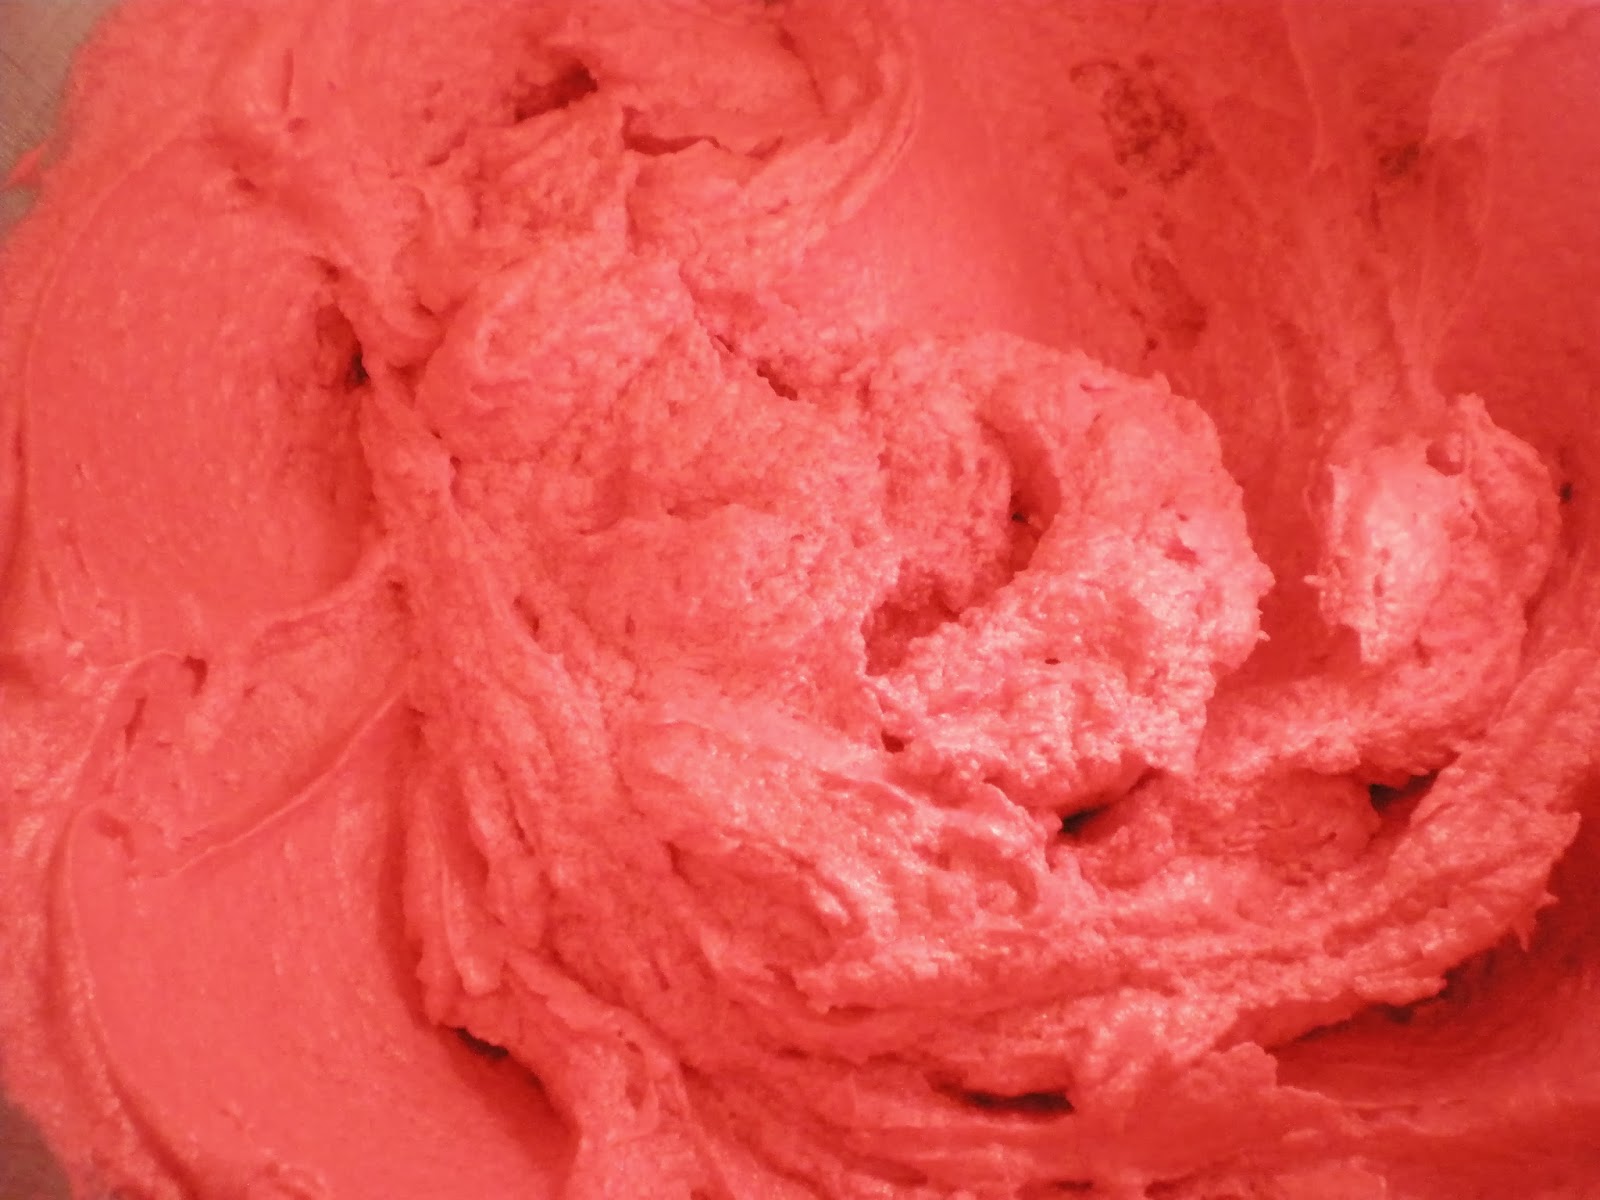
I figured the best way to get bang-for-my-buck was to layer the flavour effect with Maple Syrup and Sugar in the cookie dough, glaze with Maple Icing, then dust with Maple Sugar- too much is never an option!


Gorgeous sticky Syrup and fine-as-sand Sugar, you can see I couldn't help running my fingers through it :)


Another ingredient I wanted to trial today was this new Spread from Liddells. Liddells have released quite a lot of new products in the chiller section lately, and as I've been loving them I thought I'd see how it stood up to cooking as opposed to just spreading


Glazed Maple Spritz Cookies


Cookies:

1 1/2 cups Liddels Lactose Free Dairy Spread (or lactose free/dairy free alternative)
3/4 cup Castor Sugar
1/2 cup Maple Syrup
1/3 cup Maple Sugar (or just use 2 tab Castor Sugar if you can't find any)
1 Egg
4 cups gluten free Plain Flour
1 tsp gluten free Baking Powder

Glaze:
gluten free Icing Sugar
Maple Syrup
Maple sugar for dusting


Cream together the sugars and spread, and beat until nice and light and fluffy


Add in the egg and maple syrup and mix again


Gently mix in the flour and baking powder until just pulled together


A nice light dough- don't chill it or it will be too firm to push through the spritz press properly


If you don't happen to have a Cookie/Spritz Gun, this dough works really well just rolled and flattened into little discs. It may need to bake for a minute or two longer, but it still tastes just as lovely- I promise


Prepare your dough ammunition


Load up your Cookie Gun


Fire when ready!


So pretty indeed


Bake your little Spritzies for 12-15 minutes at 180*C
Let them cool on the tray for a few minutes, then transfer to a rack to finish cooling down


To Glaze the cookies, combine the icing sugar with enough maple syrup to make a nice thin mixture. The easiest way I've found to get a nice even coating without taking ages to dip each little baby, is to line all the cookies up closely and paint them. The wider your brush the better. Much easier than fussing around any other way. Then while the glaze is still wet, sprinkle with the Maple Sugar or a little Castor Sugar for extra bikkie bling


These little Cookies were just lovely indeed. Very tasty and surprisingly not too sweet for me. The Maple Sugar is subtle and not as strong as raw or golden sugar and the fine texture looks very pretty sprinkled on top. The Liddells spread worked really well- it didn't melt too early or while baking, and the moisture content was just right. Some margarine type spreads have a lot of water and it can make baking a bit tricky

All in all, a perfect little compliment for my afternoon Earl Grey!


So Dear Readers, what little morsels do you like to munch on with a cup of tea, and have you ever tried Maple Sugar?


November 11, 2013

Lest We Forget- Raspberry Poppy Seed Cake for Remembrance Day


Hello My Lovelies!

Did you remember that today is Remembrance Day (11 November) that marks the anniversary of the armistice which ended the First World War?  Each year Australians observe one minute silence at 11 am on 11 November, in memory of those who died or suffered in all wars and armed conflicts.

I always seem to buy enough silk poppies for a bouquet each year, and the colour is so beautiful and vivid that I wanted to replicate it in a cake. At first I thought about a Red Velvet cake, but as I'm not too fond of plain chocolate I came up with Raspberry and Poppy seed instead. I just wish I could give a slice to all the indefatigable fund raisers out there at the poppy stands who do such a great job each year- well done!


Raspberry Poppy Seed Cake

3 1/2 cups SR gluten free Flour
2 cups Castor Sugar
4 Eggs
1 cup Oil
2 tablespoons lactose free Milk or substitute
300gm packet frozen Raspberries
1/3 cup or packet Poppy seeds
2 tablespoons Red Colouring
2 tsp Vanilla (or Raspberry) Flavouring - I actually used Raspberry White Balsamic


Now you can see from this photo that I actually made my cake with lactose free spread instead of oil, but as it turned out a little dry I would definitely use the oil next time. The step by step instructions will be the same if you use the oil, but the photos are obviously using the spread which makes for a fluffier look


Beat the oil/ spread and butter until nicely incorporated and a bit fluffy, then add in the eggs one at a time and beat well


Add in the flour and the milk


I always like to add in any colouring or flavouring now as I find it disperses better in the finished cake


So pretty once you beat it through!


Add in the defrosted berries and the poppy seeds and give it all another good mix to let the berries disintegrate into the batter


Full of seedy goodness


Pop the batter into your prepared cake tins- I made two 18cm cakes


Bake at 180*C for about 50 minutes or so until cooked through


Look at the split cake- it looks just like a Dragon Fruit doesn't it?


I filled and covered my cakes with a dark chocolate ganache- and yes I cracked the outside because I didn't let it warm up to room temperature :(


I think the finished cake was very pretty and very tasty with all the raspberry yummies- just a tad dry so make sure you use the oil! The pop of the poppy seeds was quite a nice texture change form the smooth cake- just make sure you check your teeth before you have to smile :)


So Dear Readers, did your work place stop to observe a minutes silence today, and do you like poppy seeds too?


November 5, 2013

In My Kitchen- November 2013


November is here and it's time again for another In My Kitchen Post!

Linking up kitchens around the world with the gorgeous Celia of Fig Jam and Lime Cordial and her many friends. Click her link for a peek into her fun kitchen and the list of participants this month.

OK, let's see what's going on here today....


In My Kitchen is a bottle of Liquid Smoke- wonderful for adding to our BBQ sauces. A little goes a very long way. Once I dropped and smashed a glass bottle of this in the kitchen of our rental home, it stupidly had kitchen carpet and the smokey smell NEVER came out! It didn't put us off however, and our ribs just wouldn't be the same without a sweet, sticky, smokey glaze


In My Kitchen are some yummy Maple products from the deli. Maple Sugar and Maple Butter might no be new to our North American and Canadian friends, but they are certainly a novelty down here. The sugar is lovely and subtle and the butter is terribly moreish!


In My Kitchen is a fun mug from Max Brennar- it has a spiral groove from the top of the lip leading to the bowl of the cup
 

The idea is that you place a piece of chocolate at the top of the spiral, fill your mug with hot milk, and let the chocolate slowly ooze downwards with you controlling the amount and flow. I just need some cold weather now to check it out


In My Kitchen is a cookie stamp from Typo. I plan on using it for the kids biscuits so they can't accidentally get mixed up with mine. I do usually just make one big batch, but there a times when I have to make some for friends or family and I don't want to spend extra on gluten free flour. I can see this coming in very handy in avoiding accidental contamination


In My Dining Room- is a mid week dinner of Satay. I tried out three different styles with one a dry rub, one a fresh ground marinade and one a sweet pre-prepared sauce. The winner was the dry rub just beating out the fresh marinade. I used long, thin slices of pork belly instead of chunks because they cook properly that way, then grilled them quickly over charcoal, and served it all with compressed rice, pineapple and cucumber and a great big salad. There was enough food for 3 meals!


In My Kitchen Garden- is a new irrigation system of drippers for every bed. BigJ is very handy and always helpful with the right motivation :)


The beds are now planted with a huge array of goodies, all tucked up with sugarcane mulch and sprouting like crazy. The fruit beds and barrels are all busy too with our first of berries expected this year- if we can beat the dog to them!


 In My Kitchen- are some grapefruit. A big bag of them appeared at the gym for us to help ourselves to. As the weather permits bags of zucchinis, lemons, tomatoes  and even figs from garden excesses turn up. I'm going to take in some bunches of herbs as my mint, parsley and laksa mint is going crazy at the moment


In My Kitchen- is my Lunch! A nice big gluten free roll with Smoked Salmon, tomato, capers and soft cheese as well as a luscious fresh Mango- Yummo


And the last thing In My Kitchen- is the IPod on an 8 hour loop of Christmas Carols. November has hit and that means Christmas is coming up fast and frenzied. Baking and decorating are about to overtake my household very, very soon indeed


So Dear Readers, What's going on in your kitchen this month, and have you started getting ready for Christmas yet as well?

October 29, 2013

Fifty Fifty Burger


My family are definite Carnivores

Most main meals include a certain amount of meat. It doesn't have to figure prominently, but it must at least give the illusion of inclusion for BigJ to be happy

A few months ago we were watching a cooking program when a certain item was mentioned that made BigJ's eyes widen... a Burger! But not just any burger- the Ultimate Burger! This one was made up of half Beef and half Bacon, thus promising double the dining pleasure and double the meat- his idea of Joy.

I figured if I had to go ahead and make this Perfect Burger, then I might as well do it properly. I read up on some of Heston's hints for burger greatness, and pulled out my trusty mincer- would you like to join me in my journey?....


The Star Ingredients


Fifty Fifty Burgers
for 6 decent sized patties
500gm diced Beef
500gm Streaky Bacon
Salt

Roughly chop the bacon and add it to the beef. Add a decent pinch or two of salt, scrunch it together and pop in the fridge for an hour or so. This lets the salt work on the meat proteins and helps it bind together and draw out some of the moisture from the meat


After an hour or so I popped the meat into the freezer for a while to firm up. This will help make mincing easier and also stop the bacon fat from going pasty and mushy as it grinds


Just for the sake of experimenting, I decided to try two methods of mincing my burger meat.
For some, I just chucked it all in and ground it up to a nice coarse mince


Beef and bacon all snuggled up together cosily


For the rest though, I wanted to try Heston's method of keeping the mince strands long and straight. You catch the strands as they come out the mouth of the grinder and then wrap them firmly in cling wrap and chill to let them set. You then slice the mince into rounds across the strands, so as you bite through them they break away naturally, resulting in a much more tender burger. OK.... it was a bit fiddly, but not to hard to accomplish if you're not in a rush for dinner


Form your meat into nice round patties, and let them set in the fridge for a while to firm up


While your meat is chilling it's time to get to the other Fancy Fillings!
I chose Butter Lettuce leaves, ripe juicy Tomatoes, sliced Dill Pickles, and good old tinned Beetroot rounds and slices of Pineapple


Fry the meat off in a hot pan until just cooked through. The patties will be a bit pink in colour due to the bacon in the mix, but don't worry about it
The smaller patty is Heston style and the larger one is plain


Toast your gluten free bun and load it up with goodies while the meat is cooking


Pop on the patty and pineapple and dig right in!
I served my burgers with some baked Sweet Potato Fries and a variety of sauces and mustard for slathering- Yummo!


Ok, what did I think of the different patty styles?

In the front is the plain burger. The pink bits are just the bacon, it's definitely cooked through don't worry. The taste was great, with the coarse mince allowing you to get a definite mix of both beef and bacon without the two blending totally together. It wasn't tough, but nice and toothsome with just a bit of resistance. If they were overcooked I think they would go quite sawdusty though.

The back patty is Heston's. It was most definitely a gorgeously soft texture to eat. Your teeth just slipped through the strands and the meat seemed to require hardly any chewing at all. If you want to impress, or if you have the time to go to the effort I would certainly recommend trying this technique. The whole family voted it to be the winner hands down! I guess maybe he really does know what he's talking about :)


What did I think of the burger as a whole though? Was it worth the Big Build Up? Well.... it was OK. There was a nice bacony overtone to the whole thing and the fat kept the lean beef nice and juicy- but you missed the crispy, browned, rim of fat, wholeness that a rasher of bacon gives. I think having that slice on top of your burger patty makes it seem a bit more luxurious as a topping, rather than just being an extra ingredient.
That's just my opinion- BigJ loved it and said we could fix that by just adding lots of extra bacon on top of our Fifty Fifty Burger next time!


So Dear Reader, are you a fan of bacon and what do you like to put on a burger?