I have always considered myself quite a nice person. I like food of all shapes, flavours and colours. From every country and continent. I don’t discriminate, I am an equal opportunity eater. It’s only the doctors who say I’m intolerant. And certain foods who refuse to tolerate me. They certainly refuse to recognise and respect my right to eat them without major physical discomfort and distress.


Gluten and lactose are not my friends.


Despite the negative attitudes surrounding me from many of those I love best, (cakes, ice cream, hot toast) I decided to become a chef. Not always easy when you live in a bread and milk filled world. I like to think that this has helped me become a better person as I embrace my differences and refuse to let the gluten get me down. I believe InTolerance. I am the InTolerant Chef.

Food should not be about what you can’t eat, but what you can and what you enjoy eating. This blog is about my journey of cooking and eating and discovery. It’s not a definitive guide to allergy awareness nor do my intolerances make me an expert. Your body is your responsibility, not mine. I only know what works for me.


I can tell you this..... No glutens were harmed in the making of this website.

February 27, 2014

Awesome Onion Rings


An onion is indeed a wonderful thing!


One of the original work horses of the kitchen, they are invaluable in most dishes and nearly every cuisine world wide. They have been around for thousands of years and according to Wikipedia, were even worshiped by the ancient Egyptians as they thought that the spherical shape and the concentric rings symbolized eternal life. Roman gladiators were rubbed down with onions to firm up their muscles and in the Middle Ages people would use onions to pay rent, relieve headaches, make poultices, encourage male members and facilitate bowel movements- who knew how very versatile these little babies were?

As exciting as all that is, there's just one problem....    I hate raw onions

By raw I mean Not Cooked- and that extends to clumsy chunks of onion that have been mixed into rissoles or meatloaf and not allowed the time to cook through, or pretty red rings in salads for a bit of acidity, and cubes stuck sadly on kebabs charred on the outside and crunchy on the inside. It's not the flavour I mind though, it's the acidity. Raw onions give me terrible indigestion and repeat on me miserably for hours, so I tend to use nice green Spring Onions instead for freshness and traditional brown ones for slow cooking
Luckily for me, this is the time of year when Salad Onions are readily available. These are just Spring Onions that have been allowed to develop a little more into an immature bulb, and are really very sweet with very little acidity at all. I still can't eat them raw, but I can fudge it a little and have them just lightly cooked instead of terribly soft and limp


1- 1/2 cups gluten free flour
1 cup or so extra gf flour
1 1/2 or so cups cold gluten free beer or cold plain soda water
gluten free Bread Crumbs
Oil for deep frying


Cut the onions into nice, big, thick rings- about a centimetre wide


If they're too thin they'll cook before the batter does and be stringy and tough. We're aiming for soft and sweet on the inside, with crisp and crunchy on the outside


Pop the extra flour and the breadcrumbs in separate bowls for dipping


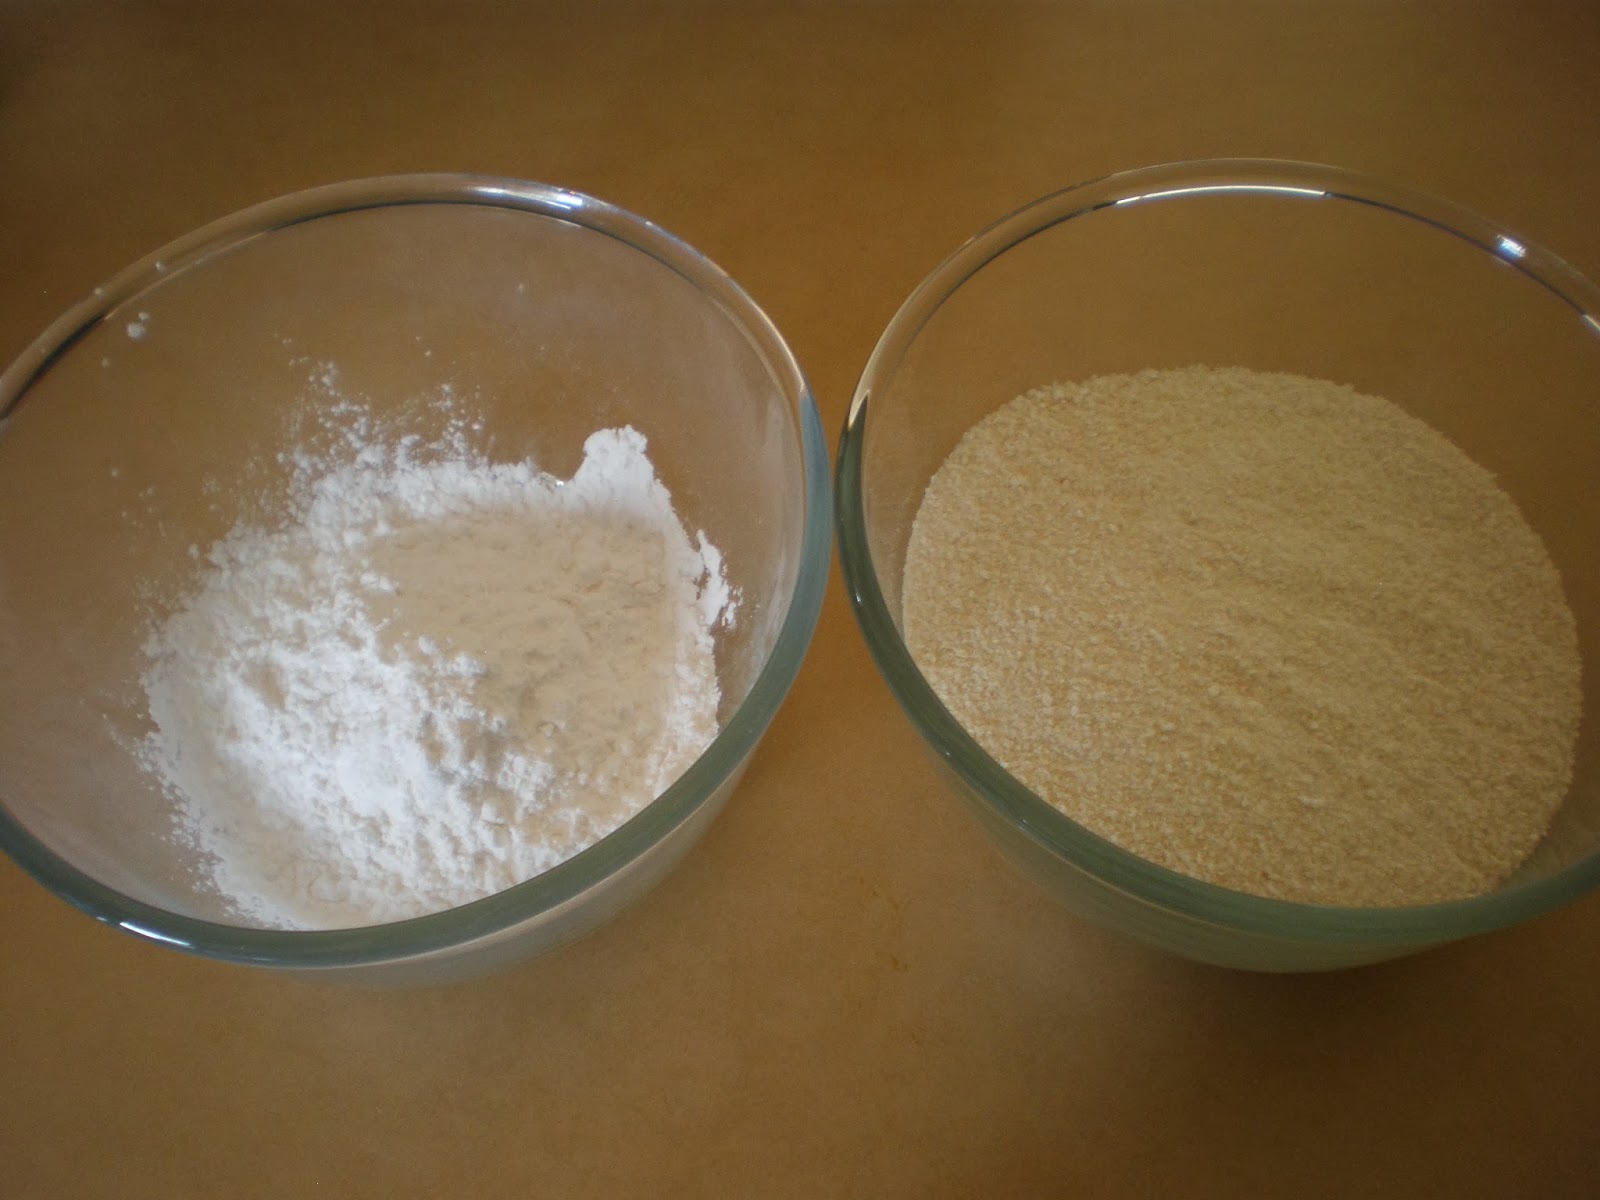
Simple Batter ingredients- beer and flour

Spices, chilli, garlic powder and all can be added to the batter if you like, but I really love the simplicity from the flavour of the beer. Feel free to try out different combinations though and let me know what works for you :)


Whisk lightly until combined nicely- a few little lumps here and there aren't an issue


I used about a cup of gluten free flour to a stubby of beer, but that's only approximate. Gluten free flour tends to thicken up more than regular flour as a rule, so adjust as necessary. You're looking for the texture of pouring cream- not so thin that it just runs straight off the onion, but definitely not all that thick either. If you don't like or have handy, any gf beer, then you can use plain soda water instead. Having the bubbles and keeping it cold will ensure the batter is nice and light


All lined up in order, ready to go: Flour, Batter and Breadcrumbs


Dust each onion ring lightly in gf flour, and shake off the excess


Dip the ring in the batter, letting any extra run off
I find using long handled kitchen tweezers work really well for this. Tongs touch too much surface area and fingers are waaay too messy. If you don't have tweezers then chopsticks aren't a bad substitute


Quickly cover the battered ring in the gf breadcrumbs- work fast or the batter might drip off. Of course the breadcrumb step isn't strictlly neccesary, i just like the extra crunchiness they give


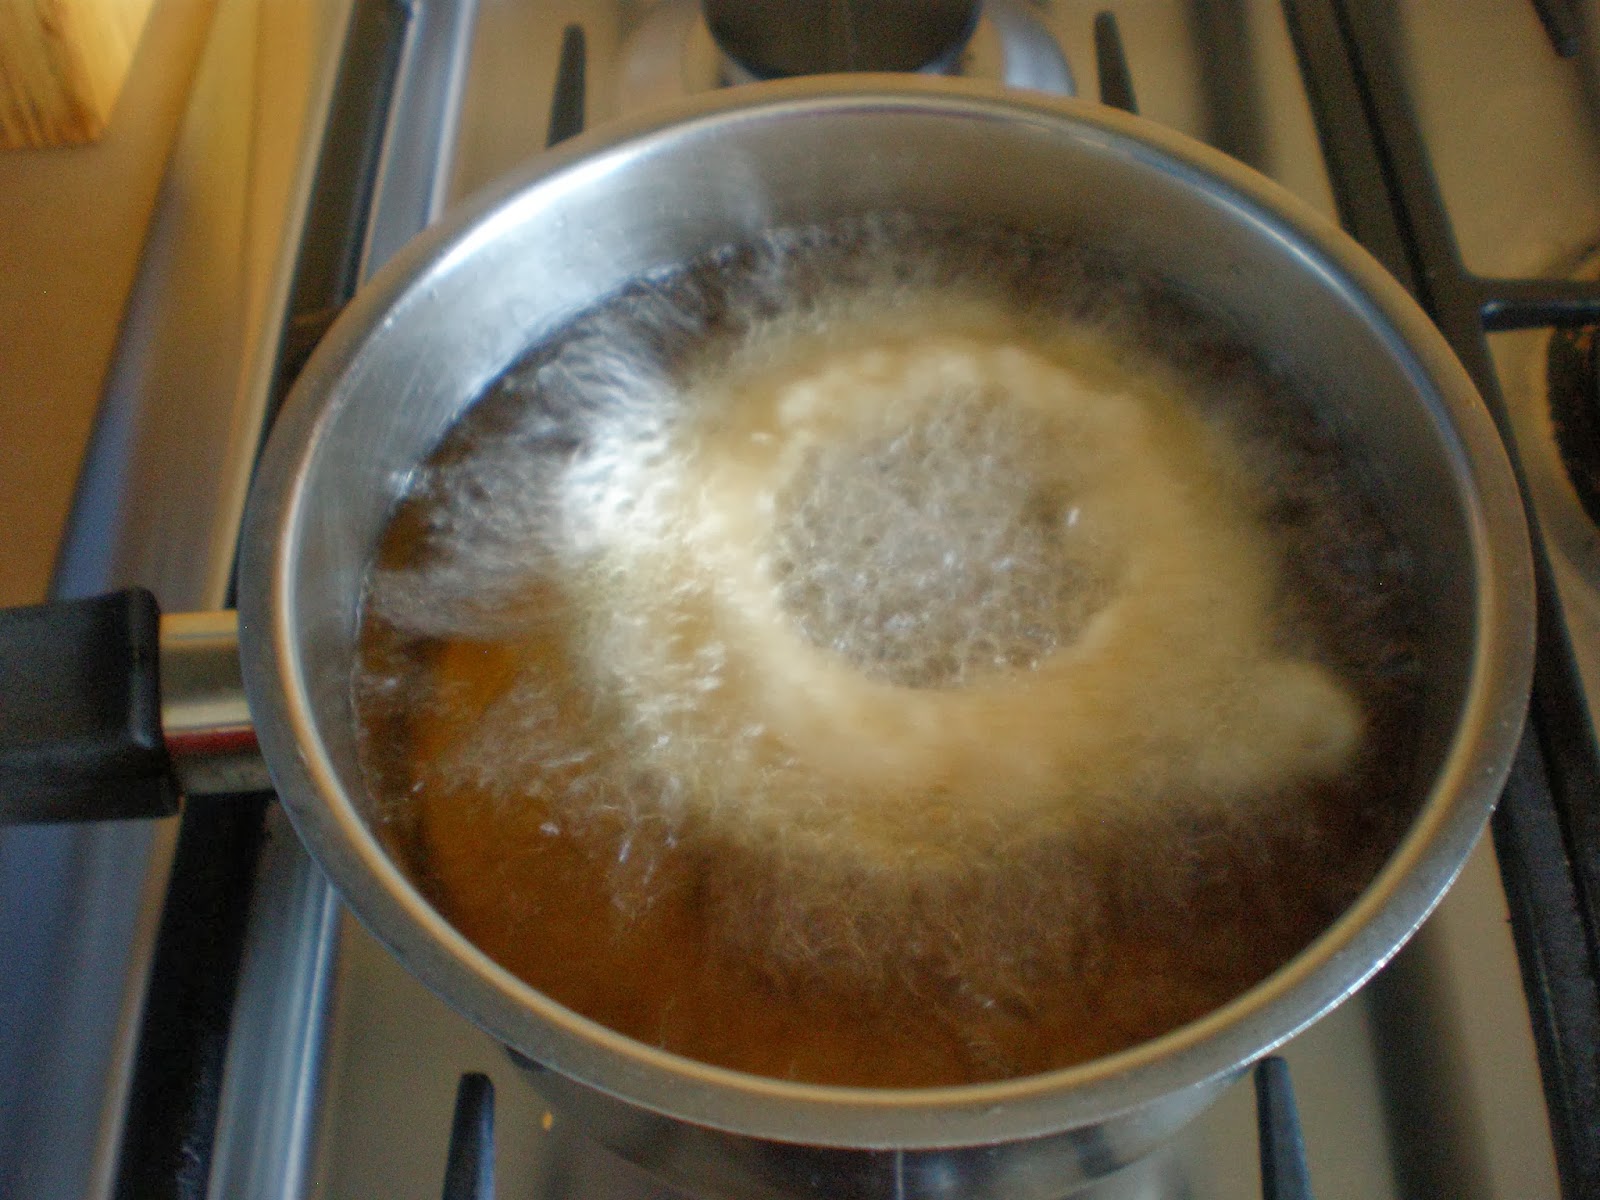
Pop the ring into the hot oil and cook until golden brown and nice and crunchy- yummo! Flip the ring with tongs if necessary to let the oil cover the top.
I only did one at a time as I didn't have much oil on hand, using a bigger pan would certainly be quicker :)


Perfect and pretty indeed!


By far the best way to stop fried items going soggy is to allow free air circulation instead of the food steaming. A baking rack is great for this and it allows any extra oil to drain away as well- much better than the usual solution of kitchen paper


I took these onion rings a little under golden brown as I wanted to serve them later at dinner time. The best way to heat them up is again on the rack in the oven to allow the hot air to circulate freely and stop any juices stewing on a flat tray. They will crisp up beautifully and brown up at the same time without overcooking if you do it this way


Now don't these look delicious? A wonderful drinking snack, great with a burger or as we had them, sitting next to a great big steak with smokey BBQ dipping sauce- Yummo!


So my Dear Readers, are you a fan of onions and how would you partake of these Awesome Onion Rings?


February 19, 2014

Gorgeous Garden Gazpacho


My garden brings me great joy, gentle exercise, and occasionally a generous glut of gorgeous vegetables

As you may have noticed from all my whinging, it has been hot. Very hot. And sometimes cooking is much less appealing than usual- I just don't want to turn on my oven or hot plates at all, or stand outside in the sun to use the bbq either
The perfect answer to avoiding the heat while still feeding my family fresh, healthy meals gathered from the garden is Gazpacho

Gazpacho is a peasant dish from southern Spain, around about Andalusia, where all these delightful veggies grow in abundance throughout Summer as well. As it's been around for many, many years, I figure that I'll stick with the classics and enjoy a night off from the heat for a change!


Gorgeous Garden Gazpacho- start a day earlier than serving for best results

1- 1/2 kg fresh Tomatoes
1 Red Capsicum
1 Cucumber
1 or 2 cloves of Garlic
1/2 - 1 mild Chilli
2 slices gf Bread
1-2 tab Sherry Vinegar
3-4 tab good Olive Oil
Salt to taste


Time to trim the veggies:
Make sure you remove all the seeds and membrane from the capsicum. The seeds are yucky and hard and the membrane can be bitter, so best to take it all out


As my cucumbers are nice and young and very fresh I won't bother peeling them or taking the seeds out. The seeds and peel can be quite bitter as well if they're not in they're prime, so best to remove them if you're not sure


Now, if you wanted to be fussy, you could blanch and peel the tomatoes as well- but why bother I say! Just roughly chop them a very little and you're done. Now a little tip from our friend Heston- he recommends leaving a bit of the tomato stalk to simmer with tomatoes when making a sauce as it adds a lot of fragrance and flavour. I'll add mine in after the blending while it's soaking for a very easy flavour boost


Peel the garlic and depending on how much of a buzz you want, you can leave the seeds in the chilli if you like


Quickly splash the bread with a good glug of water


Then squeeze the excess away. The bread will add a nice bit of body and almost a bit of 'creaminess' to the texture as well


Everything ready to go!


Bung it all in to a food processor or blender with the olive oil


Then whizz, whizz away until nice and smooth


Of course you could just eat this soup as is with all the veggies bits mixed in, and it's quite nice really, but to be authentic and fancy you need to strain the whole lot leaving the solids behind


Nice and smooth and clear


Test the fresh flavours, then mix in a tablespoon or so of the sherry vinegar to taste. The vinegar will add a sweet sharpness that works beautifully with the veggies, but be careful not to overdo it as the flavours will continue to mellow and develop overnight. Time to pop in the tomato stalk as well and let it do it's magic....
Let the soup sit covered in the fridge overnight


Before serving, check the flavours- does it need salt, a splash more vinegar, a pinch of sugar if your veggies aren't home grown? If it's very thick it's ok to thin it out a with just a little chilled water.

Serve straight from the fridge, and drizzle with a little more olive oil just as you serve to finish off one of the nicest soups you'll have all Summer- I promise


For a bit of added yumminess I served my soup up with some more of the bread topped with soft goat cheese- delicious!


So Dear Readers, what do you think of cold soup and do you like goat cheese too?


February 11, 2014

Steamed Chinese Pork Buns- Char Siu Bao


I find it really interesting that the most popular post I've ever written is the one for my Gluten Free Chinese Dumplings , closely followed by Steamed Coconut Buns


Yum Cha or Dim Sum, is one of the most wonderful meals in the world- at least if you listen to my littlej, and though often taking my health in my hands, we occaisionally venture out into the great unknown and indulge.
Now sometimes it's all good. The staff are friendly and helpful, my little printed cards in Chinese stating that I'm allergic to wheat are recognised, and we have a great time. Other times..... not so much. Really the only way to be sure of food purity and no cross contamination is to build up a decent repitoire of dishes and recreate the whole Yum Cha experience here at home

I know that it sounds like a whole lot of work, but I like to make a whole heap of each item at a sitting, then divvy them up into meal lots and freeze them. That way I have a mix of goodies for steaming or baking and Yum Cha or Dim Sum is just half an hour away whenever the mood takes us! Win Win! It's well and truly worth it and can be a whole lot of fun too


The very original recipe for these buns comes from Jamie Oliver, but I've tizzied them up a bit to suit the style of dough I wanted and I think it works just fine. I haven't given a recipe yet for the BBQ pork but it will be coming soon. If I'm in a hurry I usually pick some up at our local Chinese BBQ house with no problem- just make sure it's definitely gluten free. If you're really stuck, just use minced pork instead


Changs and Ayam make great gluten free Asian sauces


BBQ Pork Filling

300 gm gf BBQ Pork
1/2 cup Water
2 tab gf Oyster Sauce
2 tab gf HoiSin Sauce
2 tab Honey
1 tsp Sesame Oil
3 tsp Cornflour
3 tsp Cold Water


Chop the pork into nice little pieces, you don't want to be tearing huge chunks apart inside your bun


Pop the 1/2 cup water, sauces, honey and sesame oil into a fry pan. Bring to the boil while stirring to bring it all together


Add in the pork and stir to coat it all in delicousness

Mix the cornflour and cold water into a slurry, add about 2/3 of it into the pork mixture and stir, stir, to thicken up
Now this needs to be fairly thick but still loose and not dry, so adjust the thickening with a touch more slurry or thin it back down with a bit more water as necessary


Let all the yumminess cool in the fridge for an hour or so
The mixture will always thicken further when cooled but that's a good thing as it makes it easier to fill the buns later


Fluffy Bun Recipe

1 tin Coconut Milk
2 tins worth gluten free SR Flour
2 tabs Oil or Lard
2 tab Castor Sugar
3 tsp gf Baking Powder
big pinch Salt


Pop all the ingredients into a food processor and whizz it up quickly until all combined and it turns into a slightly soft, sticky dough


Tip it out, then gently knead it into a solid round. Divide the dough into 16 even pieces


Pat each piece of dough into a small round that will comfortably fit on your hand. Try to make the edges a bit thinner than the centre


Slightly cup the dough, then place a good teaspoon of filling into the middle


I pull the edges together in a triangle to start the pretty flower bud shape, but as long as it's all enclosed that's all that really matters


Pinch the opposite sides together


Finished product!


All ready to go- not really perfect, but that's fine


Steam away happily for about 10 minutes, or until glossy and cooked through and not doughy in the middle


Steamy hot and ready to eat


The dough should be soft and a bit fluffy- but remember these are gluten free and will never be as light as air as 'regular' flour buns. I haven't found a fool proof method of replicating that soft, billowiness yet, but as long as you realise the limitations of gluten free flour you should be OK


Definitely at their best served hot and soft with the filling oozing out deliciously, a real Yummy Cha treat indeed!


So Dear Readers, what's your favourite Yum Cha/ Dim Sum dish and restaurant to go to?


Other delicious Yum Cha or Dim Sum posts you might enjoy:

Thai Pearl Dumplings

Stuffed Eggplant

Spring Rolls

Mango Pudding