I have always considered myself quite a nice person. I like food of all shapes, flavours and colours. From every country and continent. I don’t discriminate, I am an equal opportunity eater. It’s only the doctors who say I’m intolerant. And certain foods who refuse to tolerate me. They certainly refuse to recognise and respect my right to eat them without major physical discomfort and distress.


Gluten and lactose are not my friends.


Despite the negative attitudes surrounding me from many of those I love best, (cakes, ice cream, hot toast) I decided to become a chef. Not always easy when you live in a bread and milk filled world. I like to think that this has helped me become a better person as I embrace my differences and refuse to let the gluten get me down. I believe InTolerance. I am the InTolerant Chef.

Food should not be about what you can’t eat, but what you can and what you enjoy eating. This blog is about my journey of cooking and eating and discovery. It’s not a definitive guide to allergy awareness nor do my intolerances make me an expert. Your body is your responsibility, not mine. I only know what works for me.


I can tell you this..... No glutens were harmed in the making of this website.

June 29, 2011

Bundy and Coke Braised Beef Ribs


I'm not much of a drinker really.

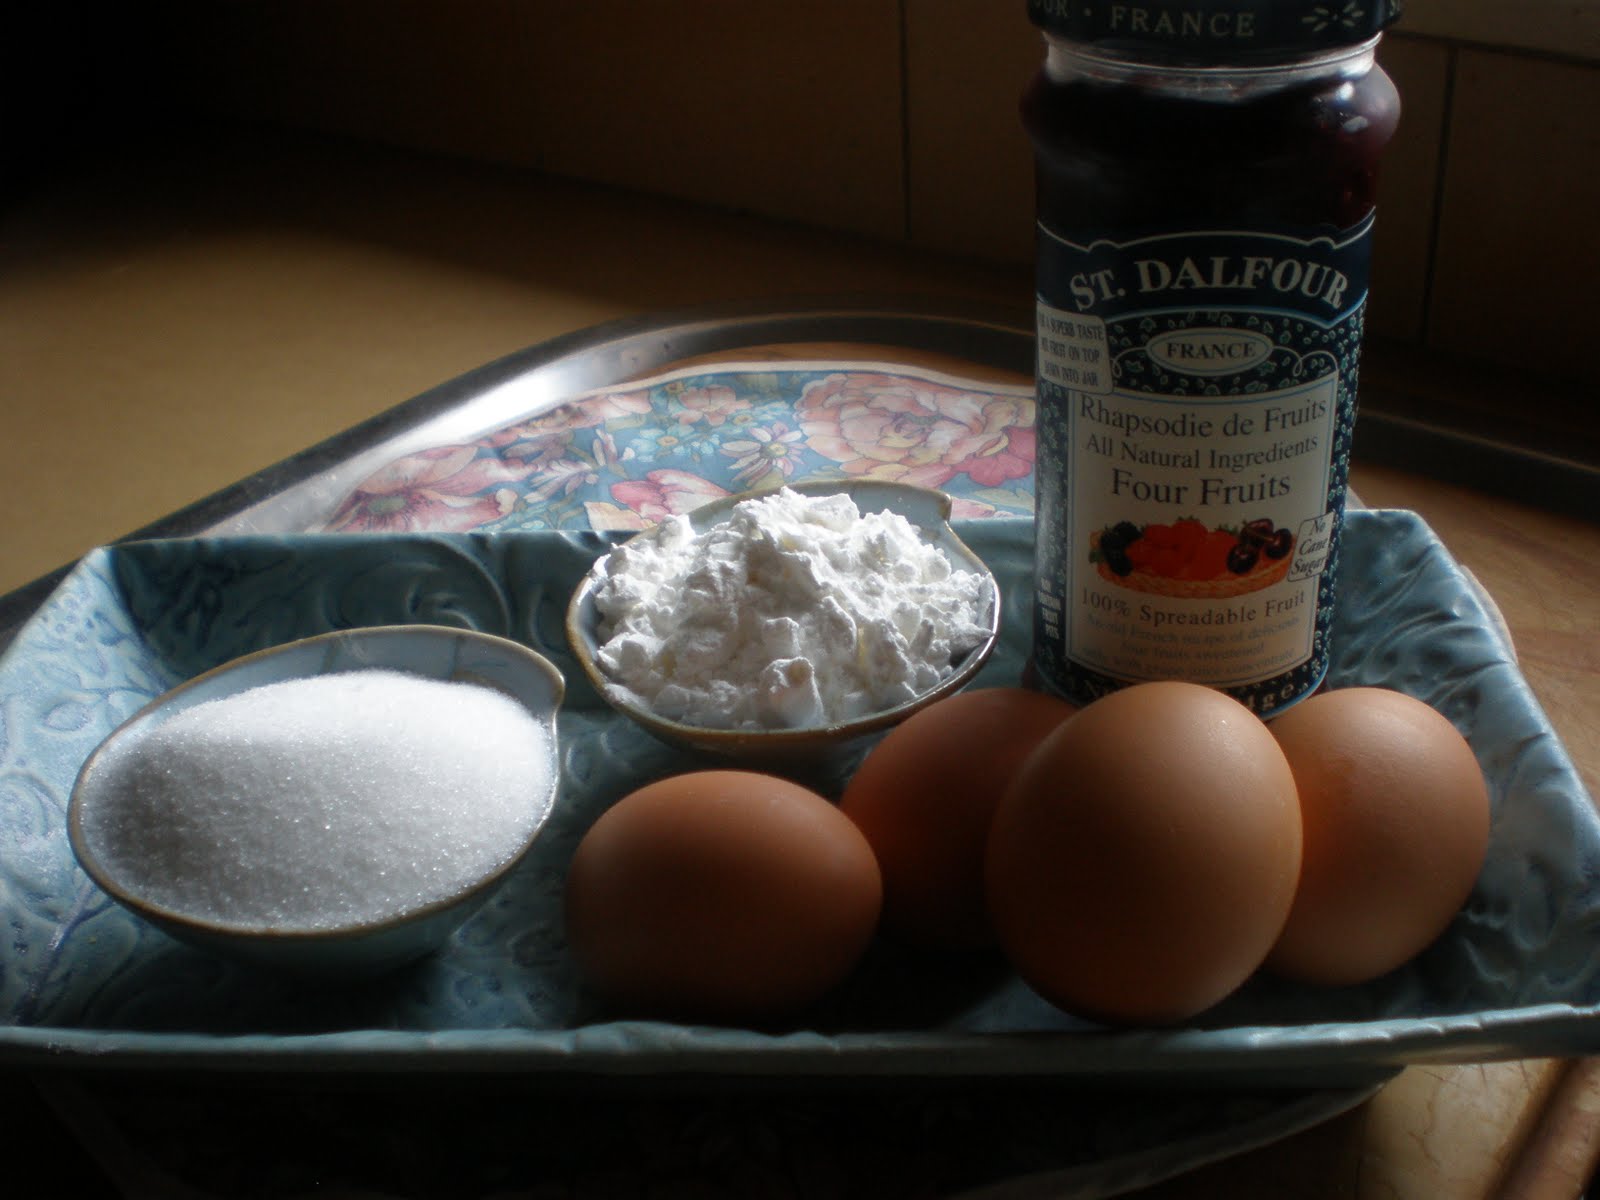
I enjoy a couple of glasses of wine and the occaisional grown up G&T, but only the odd sip of spirits. I have a whole cupboard full of alcohol, but mainly bought for their novelty or cooking value. Let's see..... Musk liquor, Cherry wine, Rose Liquor, Bubbly Lychee, Mandarin, delicious Chambois, Lavender, and even Black Sapote liquor. I also have a wine rack with various inhabitants, BigJ took them all down to dust the other week and I was astonished to find some very nice sounding reds from the early 90's up there, and a bottle of champagne from goodness knows when- how long does champagne last anyway? I also have a stash of cooking wine that I buy on sale and let age gracefully before turning them into sauces magnifique.

It sounds like we really DO have a lot on hand doesn't it?

Anyway, I also just happen to have a stack of Bundaberg Rum and Cola sitting in my fridge. I love the history of Rum, it conjures up images of Pirates, Smugglers, our own Australian Rum Rebellion.........  Too good to be relegated to only Christmas cooking, but a bit too strong for me on it's own, of course I need to cook with it! I decided to team it with rich slow cooked meat to let the flavour and sugars round out and mellow.


Beef short ribs are the perfect match for this recipe, they're great simmering away with the meat just falling apart at the end of cooking. Perfect for this cold weather of ours.


Now, you may not have noticed (due to my lack of skill) dear reader, that when I've planned out a recipe especially for blogging, I do try and make a bit of an effort with my photos. Unfortunatley, this is not one of those times. I was just about to start cooking when I thought 'This could be interesting' and started snapping away. Many of these 'interesting' ideas never make it to the blog, but we loved this meal so it made the cut. Just imagine perfect photographic images, with a perfect chef-one who is clean, not covered in splatters, and a perfect family sitting around a perfectly laid dinner table with shiny faces and perfect manners. This is obviously the norm for my home every evening. I hope you all aspire to my level of perfection. :)


Brown the ribs nicely in a thick bottomed pan that holds them in a single layer. They will cook more evenly and faster too this way. You also want all those nice little bits that stick on the base to go back into the liquid in the dish for enriching the sauce at the end.


Pull the ribs out and sweat down some onions and carrots. I left these pretty large as they'll just turn to mush otherwise as they braise away. You just want to get them started and coated with some of the oil that comes out of the meat. Spread them in a nice thick layer on the base of the pan.
Put the meat back in the pan on top of the veggies and pour over a can of the Bundy and Coke. Reserve one for deglazing later. Pop the lid on the dish and let it simmer away. I cooked mine on the stove top with a simmer ring underneath it, but it's just as easy to pop it in the oven at about 180*.


Just forget about it for an hour or so,


That should be just enough time to do the dishes, set the table, change your frock, brush your hair and freshen your lipstick, the way I do every evening before sitting down to dinner. :)


Pull out the meat and veggies and plate them up.

If there's a bit too much oil in the pan, spoon it off the top of the juices. Then deglaze the pan back on the heat on the stove top and scrape up all the yumminess that might have stuck to the bottom. Simmer it down quickly to boil out the alcohol and reduce it, then thicken just a little if you need to with a little bit of arrowroot slurry.

Pour the sauce over the meat and veggies, and serve with a some sweet potatoes baked in the oven at the same time as the dish, some greens or maybe a nice creamy mash.
The coke adds a lovly sweetness and the rum adds that little something to notch it up from easy family dinner to something a little more special. Top the lot with a basic gremolata - grated garlic, lemon zest and fresh parsley, just to give it  a lift and freshen the flavours after the long, slow cooking.

I'm ashamed to admit, that at this point, my perfectly perfect family used their fingers to wipe the pates clean and get every las bit of that sweet,sticky sauce- no napkins in sight.

Sigh..... well, nearly perfect anyway.


So my Dearest Readers, are you much of a drinker, and do YOU have the perfect family?

June 24, 2011

Musk Pannacotta


Do you remember Musk Sticks?

The mild perfumey pink lolly stick that would have in every goody-bag at every birthday of your childhood? When they were fresh, they'd be slightly soft with a bit of 'give' to them, but when they were stale, they'd still be tasty, but would have to be sucked on to soften them up so you wouldn't break a tooth.


I came across this liquor at the local Show, and was tickled pink :) with the flavour. I don't know if these are a uniquely Australian sweet, I haven't seen them anywhere else, but if it's not your cup of tea, you can replace the sweet muskiness with another flavour of your choice.


Panacotta Recipe

400ml lactose free cream
(I did try this with coconut cream, but the flavours didn't work nearly as well, you really need the bland smoothness of plain cream)
100ml musk liquor
1 1/2 tsp gelatine
1 tablespoon castor sugar
few drops of pretty pink colouring

Musk Toffee Topping

1/4 cup water
1/4 cup musk liquor
few drops hot pink colouring


Put all the topping ingredients in a pan and bring to the boil. Boil for 5 minutes until reduced and syrupy.


Put the gelatine and 1 tablespoon of cold water in a small dish and let it
'bloom' for a few minutes. This means it will swell and soften down the granules so it will dissolve evenly later.

Place the cream, musk liquor and sugar in a pan and let it come to the boil.


Take it off the heat and stir in the gelatine mixture. Let it stand for a couple of minutes, then give another good stir to make sure the gelatine is mixed evenly. I don't advise whisking the mixture as you can get a lot of little air bubbles trapped in the end product.

Give your panacotta moulds a very light spritz with vegetable spray oil, this will make your life much easier when it comes to serving time. Don't worry, you won't taste it in the finished product.


Place about a teaspoon of the syrup mixture to the bottom of the moulds. Gently pour the cream mixture over the back of a spoon into the moulds until nearly full. The reason you do this is to try not to disturb the bit on the bottom so that when you unmould them, there'll be a nice hot pink base with a little dripping attractively over the edges ala creme caramel style. Getting a bit fancy aren't we?


Pop the little lovelies in the fridge for at least 4 hours to set and develop flavours.


Now, The Big Moment.......


To get the musky morsels out of the moulds just try breaking the seal at the top by easing back the edge with your finger, then placing the serving plate over the bottom of it and tipping it upside down. It just might slide out- maybe. Mine came out first time no problem. But if it's stubborn and doesn't want to co-operate, then boil the kettle and fill up a bowl a bit bigger than the moulds with the hot water. Dip each mould in the water for a few seconds then try again, this time there shouldn't be any problem. If this for some strange reason STILL isn't working, just hand the moulds to your guests along with a spoon and pretend you meant to serve them this way all along.

Aren't they gorgeous? Perfect for moments of pure pink perfumed pleasure,their marvellous muskiness making mouth-watering memories.

Yes, they do have that effect on me Readers, perhaps I didn't evaporate off all the alcohol? Maybe it's the red food colouring or the sugar rush? You'll just have to try them for yourself to see.


So Dear Readers, do you remember musk sticks? And what was your favourite childhood lolly?

June 20, 2011

I'm On A Roll!


Flushed with the success of my Sponge Roll earlier in the week,


I was inspired to revisit an old friend of mine, the Rolled Spinach Quiche.

I'm craving some fresh tasting greens and this is stuffed full of greeny goodness. Watercress has a nice bit of iron-y tasting zinginess, and spinach has a mild sweetness that balances it out. The winter is starting to get to me, and a plain salad is not as exciting as it could be, so getting greens by the mouthful in a quiche is much more appealing.  Although this is a cold meal, I'll eat it sitting in the feeble rays of sunlight struggling to break through the sleet, and dream of the warmer days to come......


The very original recipe for this came from an old Womens Weekly Cookbook, and I first made it back in the '80's. Its a cute, if somewhat dated, way of presenting a crustless quiche, and the green colour is quite stunning when it's sliced.


1 packet of Frozen Spinach
1 bunch of Watercress
1cup of lactose free Milk
1/2 cup of gluten free Flour
5 Eggs
50 gr hard goat cheese
3 tablespoons of Butter
Salt and Pepper

Defrost the spinach patiently in a fine mesh strainer lined with a chux cloth, and squeeze out all the excess water. Or... defrost the spinach IMpatiently by throwing it whole in a pan over medium heat and stirring until all the water has evaporated leaving you with a nice moist paste.


Chop or process the zingy watercress finely.

In a pan (by the bits of green, you can see I re-cycled the spinach pan) melt the butter then add in the flour and cook it off for about a minute to get rid of the 'raw' taste.


Whisk in all the milk, and let it come to the boil and thicken. Take it off the heat and cool down quite a bit.


In the meantime, separate your eggs and grate your goat cheese.

To the milk and flour base, add in the spinach, watercress, egg yolks, cheese and seasoning and stir until all combined into a lovely green goopiness.


Beat the egg whites on their own until they reach stiff peaks.


Mix a spoonfull of them into the other mix to lighten it, then gently fold in the rest without knocking out all the air bubbles in the whites.


Spread it out evenly into the lined pan, and bake at 200*C for 20 minutes.


Turn it out the same way as you did for the Sponge Roll (see step by step in the previous post) Then roll up in a clean teatowl, place on a cooling rack and let cool to room temperature.


Open the quiche out gently, it might have a few deep creases, but don't worry, you'll cover them up with a yummy filling anyway.


Now spread with a yummy filling- I used soft goat cheese whipped with a tbs lactose free milk until light and smooth, roast capsicum, avocado cubes, smoked salmon and a squeeze of lemon juice. Cream cheese would be great too. Pop into the fridge until nice and firm then cut into groovy green slices.


I served this with a nice little salad for crunch, and some slow roasted tomatoes to add sweetness and a touch of moisture to the whole dish.


Well Readers, what do you think- is the spiral still in style,


or is it a throwback to an earlier culinary era? And can we help it make a comeback?

June 16, 2011

Jammy Sponge Roll


A lovely old fashioned favourite today Dear Readers, Jammy Sponge Roll.


One of the most basic cakes and one every chef should have in her bag of tricks. What lovely basic ingredients too- flour, eggs and sugar. Can't get much simpler than that!


Here in Australia, we have the Country Women's Association, AKA the CWA. The cuddly grandma baking mafia of Rural Australia. These lovely ladies rule the regional shows/fairs with rods of iron, laying down very strict guidelines for all the baking categories and taking out every prize on offer. They also fundraise non-stop for their local communities with cake stalls and such, and no one can get a better basic cake than from them. The fluffiest lamingtons, the airiest sponges, and the scones.....
My Mum was the President of her local CWA, and she is not a confident baker at all, I'm sure that there must be some kind of initiation involving secret handshakes and the passing on of age-old recipes or fairy dust, because she even managed to impress Lady Flo with her rendition of the famous Queensland Pumpkin Scones.

I'm sure that my little Jam Roll would never pass muster in any country hall or fund-raiser or win any show prizes, but luckily for me my family is not that fussy! And when it comes to gluten and dairy InTolerances I hope that even the CWA can makes some concessions.


Fluffy Sponge Roll

4 eggs
1/2 cup castor sugar
1/2 cup cornflour
1 tsp gfree baking powder
pinch of salt

First of all, pre heat your oven to 180* and line a 26x32cm swiss roll tray with baking paper.


Whisk the eggs and sugar until they're really nice and fluffy and leave a 'ribbon'- or when the mix dribbles off the whisk and leaves a high trail that takes a second or so to soak back down.

Sift the combined cornflour, baking powder and salt over the eggs, and gently fold them through.

Tip this mix into the baking tray and spread it gently and evenly.

Bake for about 20 mins and it's nice and golden and risen beautifully.


Now it's time to get a wriggle on, we want to do the next few steps before the cake cools down to much or it will develop unpleasant looking cracks in the top- a bit like an older lady who's really spackled on her foundation and powder, then smiled.


Take it from the oven, sprinkle the top with castor sugar and lay a clean tea towel over the top of the cake. Place your cooling rack against it and flip the whole thing upside down.


Peel the baking paper from the cake, exposing it's vunerable pale underbelly.
Roll the whole cake up - gently- in the tea towel, starting from one of the long sides, like a spiral or a really lanky snail. Place the seam side down and leave on the cooling rack to cool completely.
Unroll your cake and spread your jam of choice, lemon or passionfruit curd is fabulous too, fairly thickly over it leaving a 1-2cm clean edge at the end to stop all the yummy jam oozing out once you re-roll it. This is MUCH easier to do if you warm the jam a little in the microwave, otherwise you could risk ripping the sponge and angering any CWA ladies in the vicinity.


Roll your cakey up again and let it settle a bit. We want the jam to glue it all together and soak in a wee bit.
If you're not dairy InTolerant, you could even top the jam with some whipped cream, but alas, not for me, but the jam is still delicious.


Sprinkle the whole cake liberally with icing sugar (Maybe this is where the secret fairy-dust is added?)


Cut into nice thick slices and sink your teeth through the fluffy sponginess that gives this cake it's name.... yummmm......


So my Dear Readers, hve you ever bought a cake from the CWA or a local cake stall, and was it as good as you hoped it would be?

June 12, 2011

Lavender Grey Churros


The other day at work I was faced with a bit of a problem. We had 150 booked in for an all day function with many dietary requirements to juggle. All was well until afternoon tea when.... my gluten free meals wnt missing!
I have no idea where they were- I hadn't eaten them! But I had 15 mins to come up with an alternative that was yummy, quick, and of course, gluten free. No ovens were on, there was only rice flour on hand.... I thought of churros.
With deep fryers on 12hours a day, that was one obstacle cleared, so I whipped up the batter, deep fried the little suckers, tossed them in some cinamon sugar, and volia! Sadly there was no chocolate sauce for dipping, just some cream, but at least it was better than a piece of fruit- the ultimate gfree standby in commercial kitchens.

Anyway, I knew I could gussy-up the basic recipe to make it much nicer, and with some minimal efforet came up with these Lavender Grey babies for you dining pleasure!


I believe I may have mentioned once or twice how much I love Dilmah Earl Grey Tea, it's sooooo lovely and just right for a pick me up any time of the day, so the starting point for my churros is a strong cup of tea. You could of course just use water, but why not use the best flavour at hand, and of course make an extra cup for sipping while you cook.


1 cup of strong Earl Grey Tea
2 cups of gfree flour
1/4 cup lavender sugar
1 tb butter or Nuttlex
3 eggs
Oil for deep frying
Lavender sugar for dusting

First of all, make you lavender sugar. You could use cinnamon sugar if you like, but lavender is just so much more lovely and goes so well with the tea that it's well worth while the effort.
Place the sugar and a couple of tablespoons of culinary lavender buds in the bowl of a food processor. I used Herbies lavender, but you could use some dried buds from the garden if you're sure they haven't been sprayed with chemicals or by a nieghbourhood doggie.
Whizz the sugar around until the lavender is chopped up and distributed evenly through the sugar. That's it, nice and easy.


Now onto the churros:


Put flour, sugar and butter in mixer bowl.

Pour in cup of tea, and mix well. The butter will melt.

Add in the eggs and keep mixing until a nice elastic batter comes together.


Put some batter into a piping bag fitted with a fluted nozzle. Pipe directly (and carefully) into the hot oil. If you hold it close to the oil it won't splash up at you. The mixture is thick enough to pipe in slowly and not wet enough to spit excess moisture.


Cook until nice and golden brown, you'll have to turn them over half way through with tongs so both sides share the love. They'll puff up and get nice and fat, so don't crownd the pan or all the little churros will stick together into a blobby mass.

Toss the hot churros straight into the lavender sugar and make sure they're covered top to toe.


Serve straight away while the little lovelies are warm and crispy. Enjoy with another hot cup of Earl Grey Tea! Not that you need an excuse to sip on a nice cup of tea anytime.

In the spirit of full recipe disclosure, I have to admit that the full rice flour churros stayed crispy longer, but they weren't as fluffy inside. The gfree mix was softer but with more of a doughnut vibe. Next time I might try 1 1/2 cups mix and 1/2 cup rice flour just to see if I can get a longer lasting crunch.


So my Dear Readers, how do you like your nice hot cup of tea?

June 4, 2011

Beautilicious Blueberry Souffle Pancakes with Blueberry Compote


Blues and purples are my favourite colour tones. So soothing, calm and pretty.

My house is painted blue, my kitchen is blue, and all the flowers in my garden are the same, except for the odd splash of red for whimsy.


Is it any wonder that from time to time I crave Blueberries? I think not. Whatever the reason, all I need to know is that they are delicious! I even have a bush growing in the fruit garden, but as littlej charges me 10c a berry, I'm glad it's still only small.

The reason for my blueberry recipe today started when I found this syrup at the supermarket. I know it's not 'real' maple syrup, but it intrigued me and deserved to be bought for that fact alone. It tastes pretty good actually, a hint of maple syrup with a big hit of blueberriness as well.


Now when I think of syrup, my mind automatically goes straight into pancake mode (is that just me?) and whilst crepes are all very well in their place, I wanted some nice fluffy babies to soak up all the purple juices. Thus the Souffle Pancakes. So fluffy and so easy, and more importantly- so impressive. Serve these at your next brunch for extra kudos.

Do you remember my post on using the rice cooker to make rice pudding? Well in the spirit of multi tasking kitchen utensils, I used my sandwich press to cook these pancakes. It actually has a lovely even heat that doesn't get too hot. As these little babies are quite thick, it can be a bit of a shuffle to cook them all the way through without over browning(aka burning) their little behinds. The press -we call ours the Squishie Machine, is actually what I've taught littlej to cook on, just leaving the top up of course! There are no flames, it maintains a steady heat, it has a handy rim for spills, and it can cook most things that don't need a good sear. She has mastered bacon, eggs, french toast, pancakes, omelette's, and heaps of yummy things, oh and can make a mean squishy sandwich too. If you don't happen to have one of these great machines, just use a good old fry pan on a low to medium heat.


Souffle Pancakes

2 cups gluten free flour
2/3 cup lactose free milk- I used Zymil
2 eggs separated
2 tablespoons of sugar
Blueberries- I used frozen
A splash of vanilla, or some lemon zest for zing


Beat the eggwhites until stiff peaks. I always do this first thing, this way I don't have to wash the beaters twice!


Mix the egg yolks, milk and sugar together, then add in the flour. You could sift it for extra lift, but why bother?

Toss in the blueberries and a spoonful of the whites and stir through to lighten the mix.


Carefully fold in the rest of the eggwhites. I like to lift and fold the mix with my right hand while turning the bowl with my left hand. Make sure you mix well without knocking the extra air out the mixture.


Spoon small amounts onto your pre heated squishy machine or pan. These won't develop bubbles like a traditional pancake, but they will get nice and firm and brown on the bottom to let you know when to flip them. Once you can poke the little pancakes in the middle and it feels firm, not mushy, they are probably ready. This also gives you, the cook, a great excuse to try at least one for 'quality control' before sharing with anyone else. What? It's a legitimate reason!


I had a little inspiration while making these. If one lot of blueberries would be good in pancakes, two lots with the syrup would be better... so how about three lots? I had to think fast as the cakeys were already cooking, so I thought of Blueberry Compote. Even easier, and ready in a flash too.

Blueberry Compote

Handful of blueberries
Couple of spoonfuls of sugar


Mix the berries and sugar in a microwave proof dish.
Cook on high for 3 minutes.
Stir.


How easy is that guys? My microwave is pretty powerful, so yours might take an extra minute or so, but so quick that it's ready before the pancakes.

This is really,really hot and jammy, so let it cool for a minute before digging in. There is nothing worse than searing off your taste buds for a week by being impatient. I learnt that lesson the hard way -and still have trouble remembering sometimes!


Serve your Beautilicious Blueberry Souffle Pancakes with a dusting of icing sugar, a spoonful or two of Blueberry Compote and a good drizzle of Blueberry Syrup.

Blueberry Bliss.....


So Lovelies, what is your favourite colour? And do you prefer foods that are coloured the same?


AND THE WINNER IS.....

Chosen at random by the scientific Cat Raffle Method.....
JASMYNETEA
Congratulations and please send me an email with your postal details so I can send them off to you.


Don't despair Readers Dear, I'll be having a few more giveaways soon!
Good luck!