
I belong to a few Facebook groups related to InTolerant issues, and one of the Coeliac groups has long been promoting YoDo as a great alternative to traditional breads and dough
YoDo is simply a Dough made up of gf SR Flour and Yoghurt- that's it
The amazing thing is that it just works, every single time. It's been used for pizza bases, scones, cinnamon rolls and so many other yummy things, making it a firm favourite with the online community for sure
Quick Bread is technically any bread leavened without yeast. In the case of YoDo it works with the raising agent in the Self Raising Flour, but I also like to think of it as quick bread because it's so quick to throw together and so quick to bake

Basic YoDo ratio 1:1.5
1 cup lf yoghurt to 1 1/2 cups SR gf Flour
How easy is that!

Of course you can make it just a bit more interesting by adding in extra yummies if you like, and of course I couldn't resist :)
2 tubs lactose free Yoghurt
3 tubs worth gf SR Flour
pinch Salt
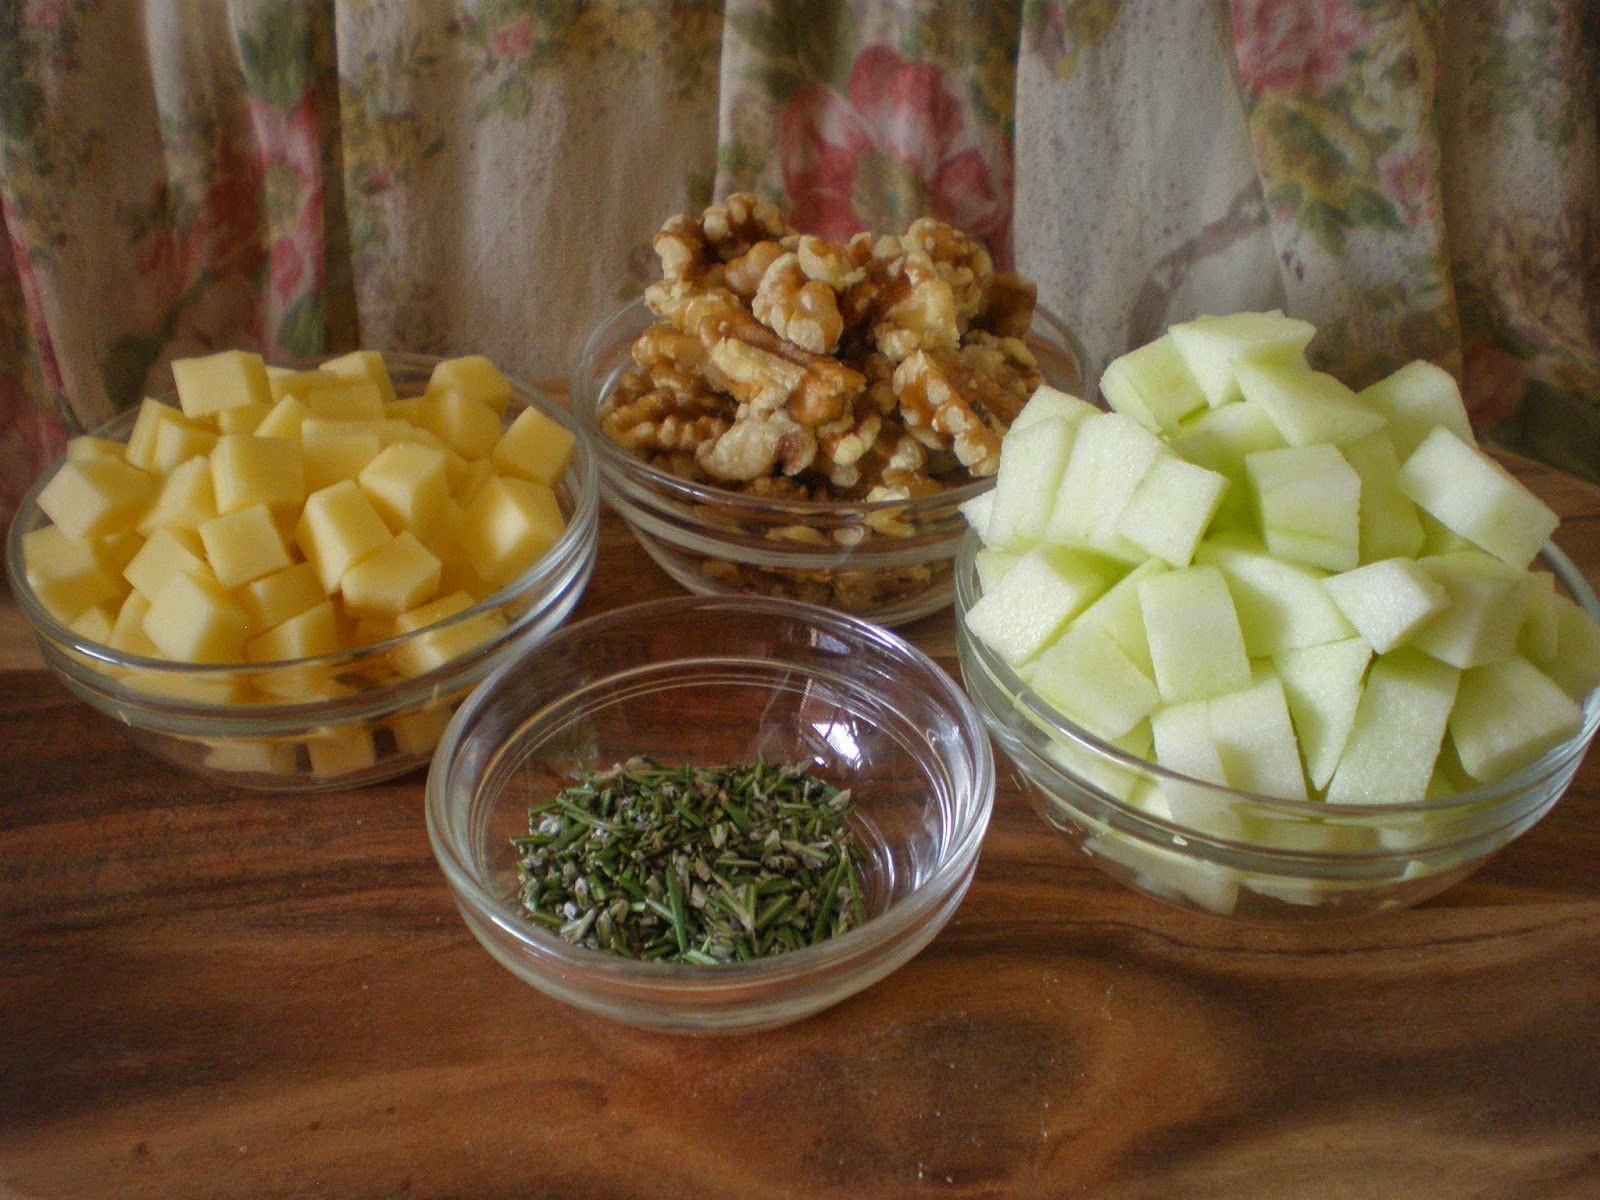
3/4 cup Walnuts
1/2 cup diced lf Cheese (I used Liddells)
1 green Apple
couple sprigs Rosemary
Chop the cheese and apple into nice little chunks, crush the walnuts roughly, and finely chop the rosemary into itty-bitty bits
Simply place the flour and yoghurt in a bowl

And mix! For a flavoured dough like this one, I just give it a bit of a stir through to start with- otherwise mix until all the flour is absorbed into the flour and it comes together well

Pop all the bits and bobs in at once, and keep mixing. I really find it just so much easier to use your hands to squish it all together well and distribute the chunks nicely

The dough should still be a bit sticky

Using wet hands, pat the dough into a greased pan, then bake at 190*C for 30-35 minutes

So pretty and it smells amazing too!

I like to eat this while it's still warm- the cheese is oozing and the apple is soft. So yummy, and perfect with a nice rustic pate like this one, with a nice soup like this one, or just slathered with some butter or lf spread instead.....mmmmm.....
Just a word of caution Dear Readers, if you are making this gluten free then you should be well aware that most gluten free baked goods are at their peak on the day that they're made. I found that the best way to refresh it after that was to give it a quick flick of water, then pop it in the microwave on medium heat for just 20 or 30 seconds. But the best thing about this style of quick bread is that it's quick and easy enough to make fresh whenever you feel like a bit of yumminess!
So Dear Readers, have you made Quick Bread before, and what would you mix into yours for extra yumminess?


